ubuntuで動画を見ることはなかったのですが、諸事情によりDVDの再生が必要になったのでVLCという動画再生ソフトをインストールしてみました。OSのバージョンは ubuntu 18.04 LTS です。SMPlayerという動画再生ソフトもあったのですがVLCのほうがダウンロード容量が少ないので、こっちにしました。
インストールする前にネットで調べてみるとVLCで動画を見るには
・ubuntu-restricted-extras
・libdvd-pkg
・libdvdcss2
・・等が必要と書いてあったり、なかったり、、です。とりあえずubuntuにインストールされているパッケージを確認してみました。

ubuntu-restricted-extras ではないけど、ubuntu-restricted-addons というものはすでに入っていました。また libdvdread4 というのも入っています。VLCを入れたらなんとか動画再生してくれるのでは?と期待しつつ、VLCのインストールをやってみました。
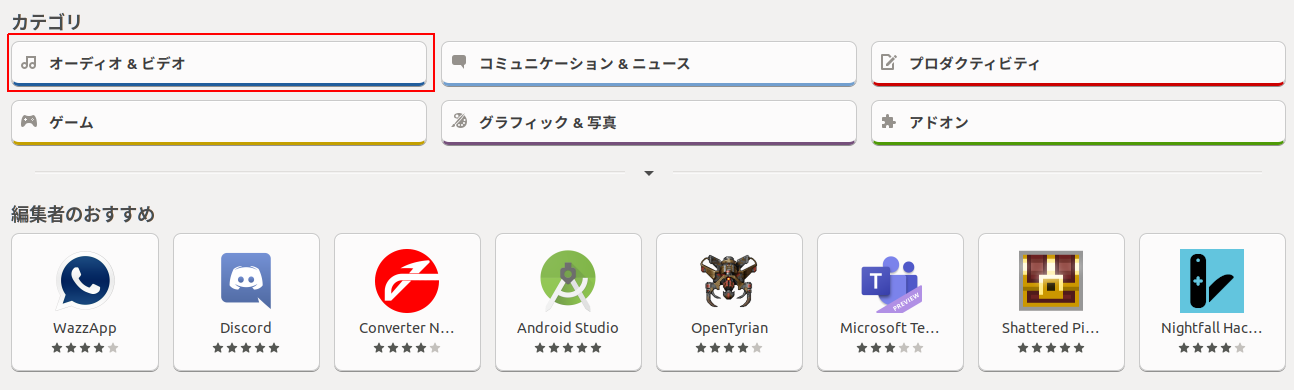
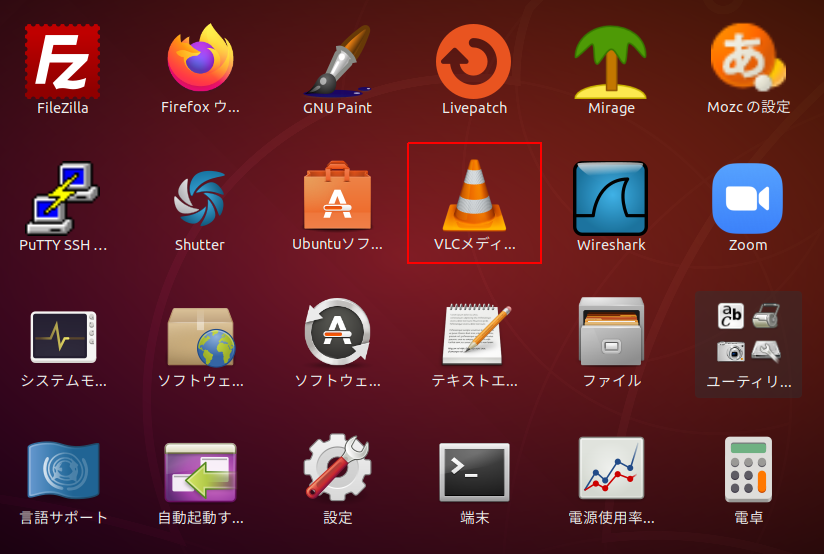
ubuntuソフトウェアから「オーディオ&ビデオ」を選びます。
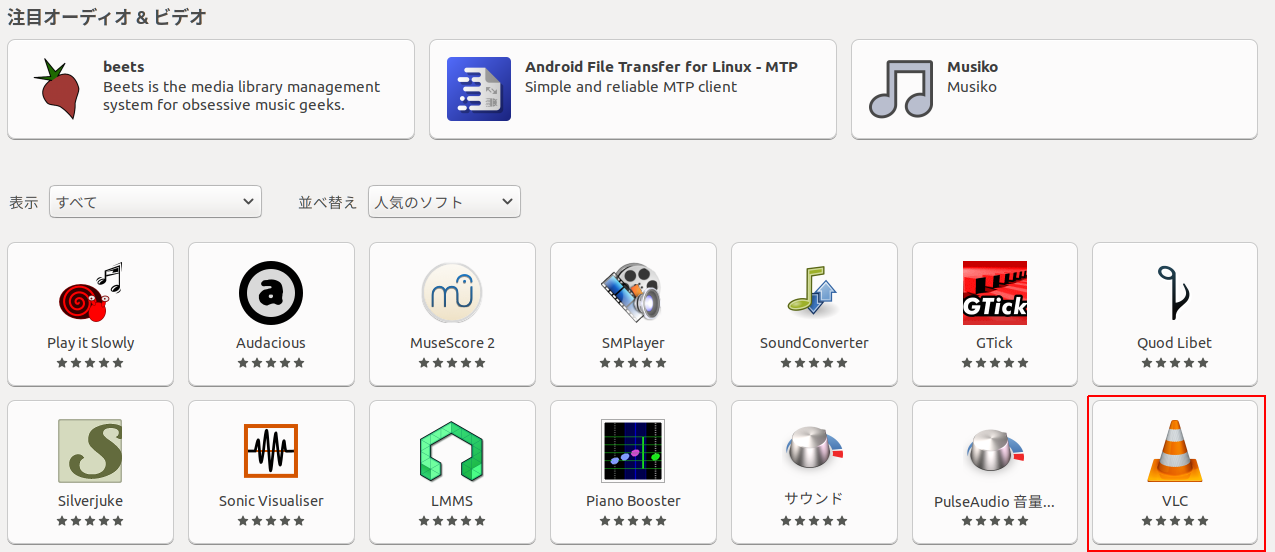
VLCが出てくるので、それを選択します。右下の赤枠です。
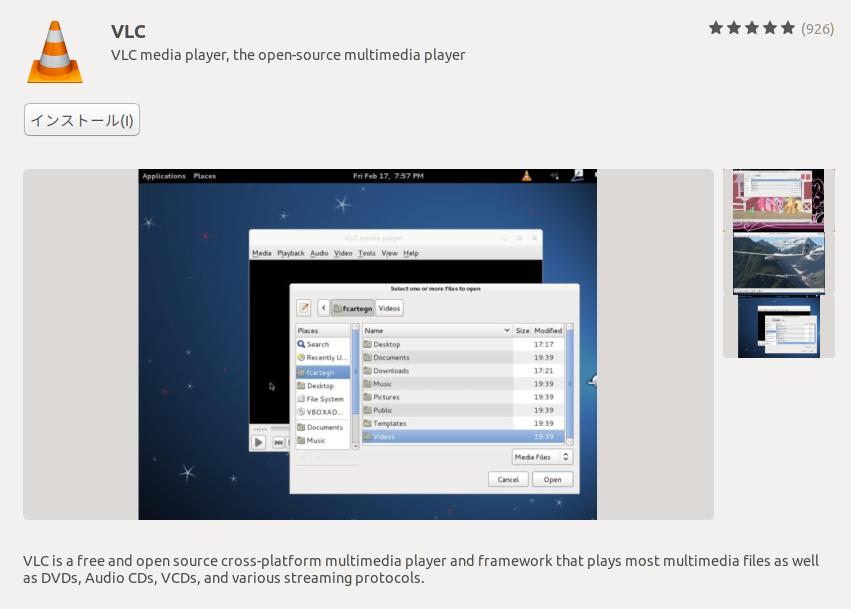
「インストール」ボタンをクリックします。
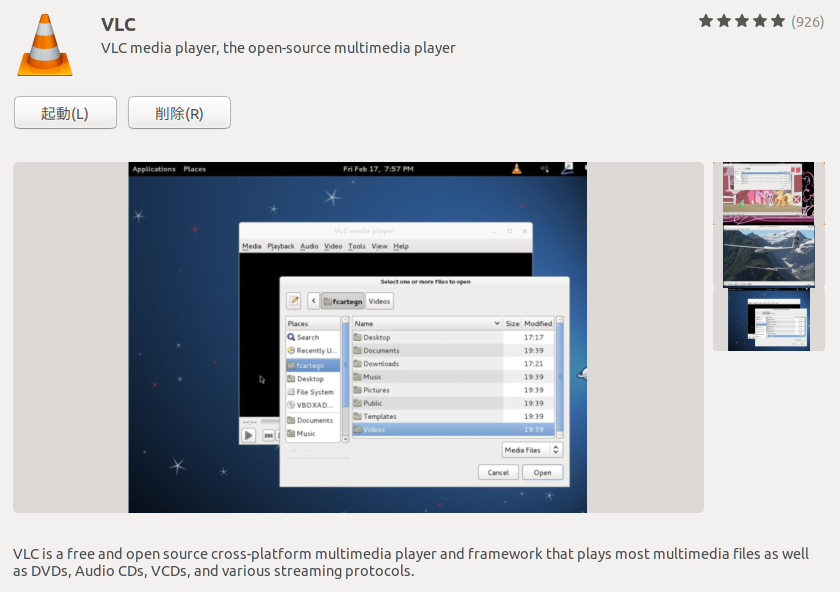
インストールが終わると起動と削除のボタンが表示されます。「起動」ボタンを押下してみたのですが起動せず。。
ubuntuソフトウェアを閉じてデスクトップのアプリケーションを確認するとVLCは入っていました。
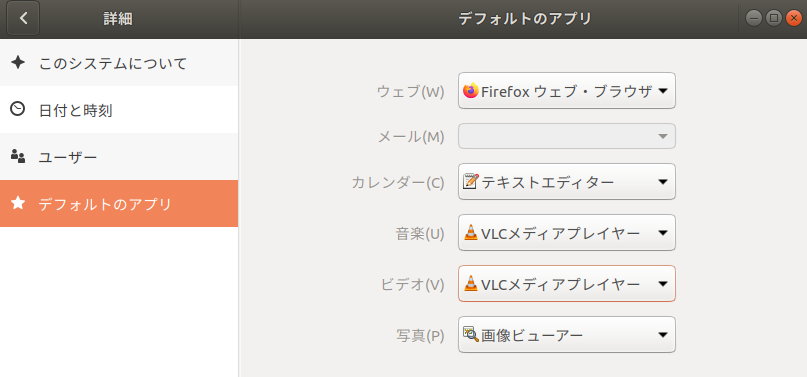
設定の「デフォルトのアプリ」を見てみると、もともと音楽とビデオの項目が空だったのが(特に何もしていないけれど)VLCメディアプレイヤーと設定されていました。
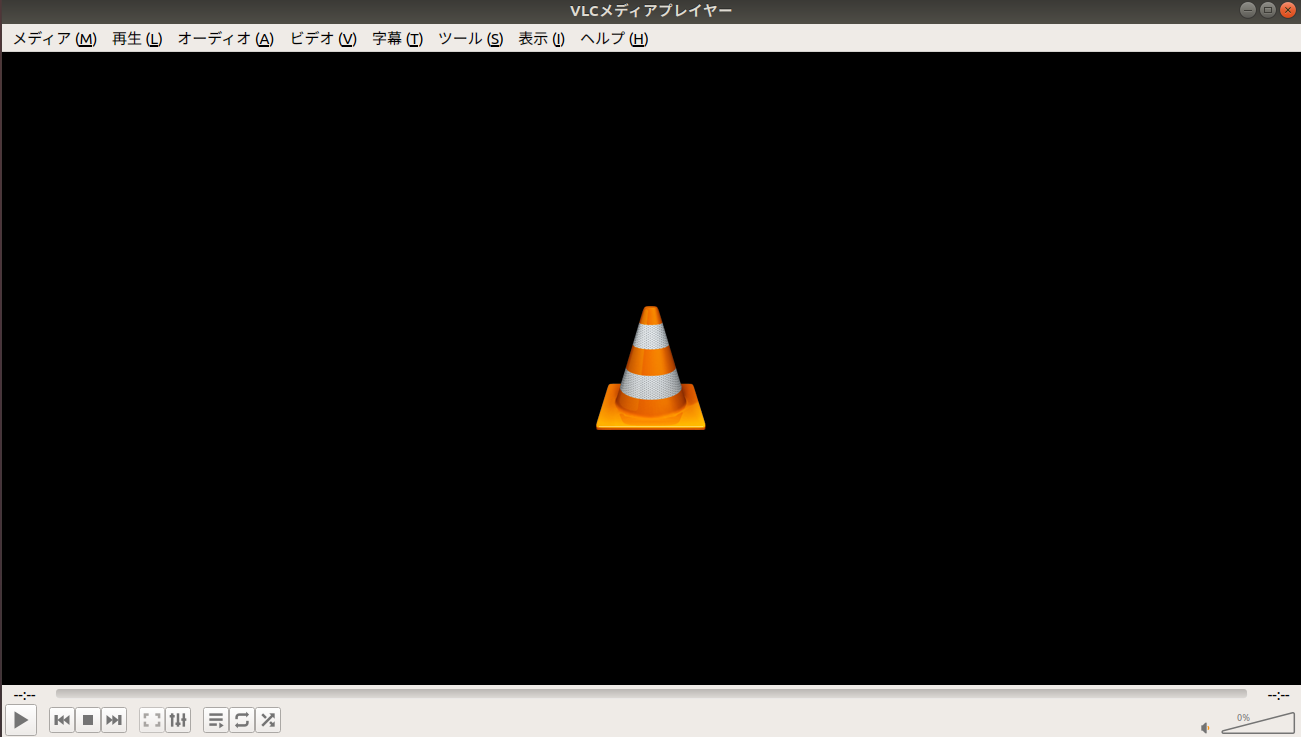
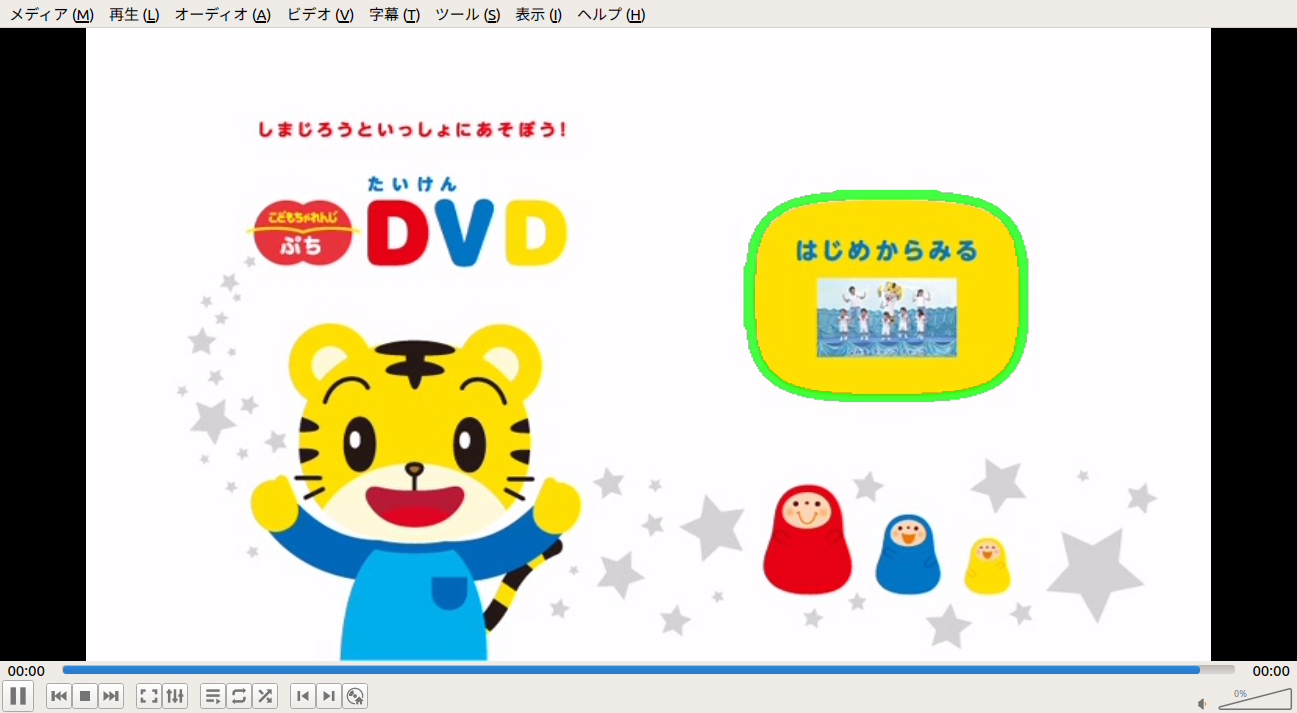
インストールは出来ているようなのでデスクトップにあるVLCのアイコンをクリックして起動させました。こんな感じの画面です。
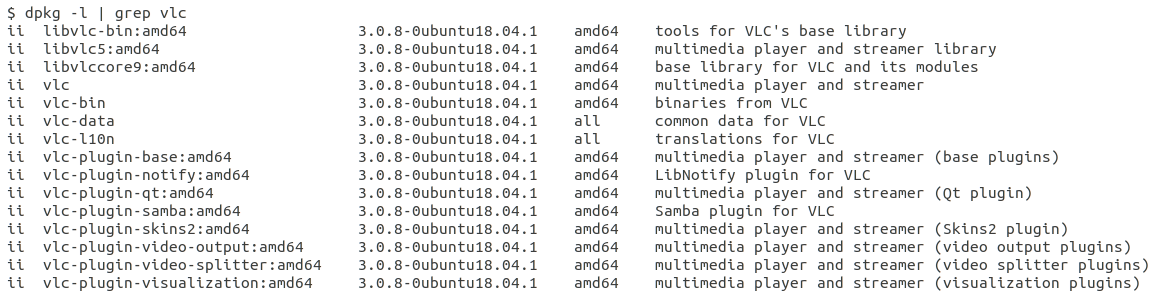
ところがDVDをセットして動画の再生を試みましたが再生されず。。どうやらVLCを入れただけではダメみたい。VLCで何が入ったか見てみました。
何かが足りないようなので追加でインストールをします。ここは勘でしかないですが libdvd-pkg を追加で入れてみることにしました。
実行したコマンド
$ sudo apt install libdvd-pkg
その時のインストールログです。
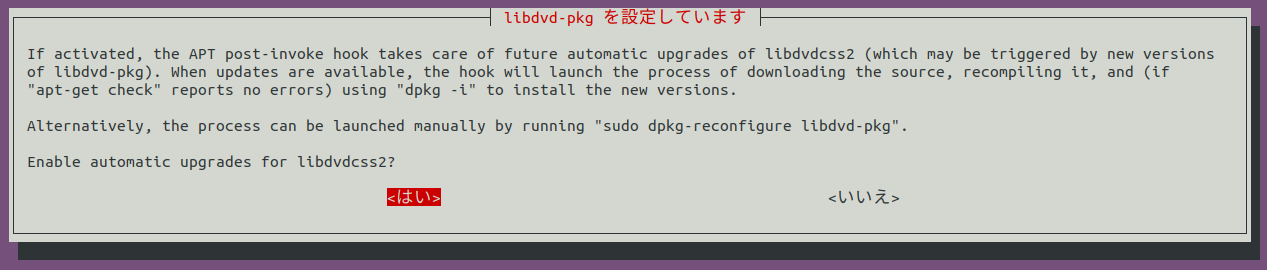
途中で以下のような画面が表示されたのでリターンキーを2回押下しています。
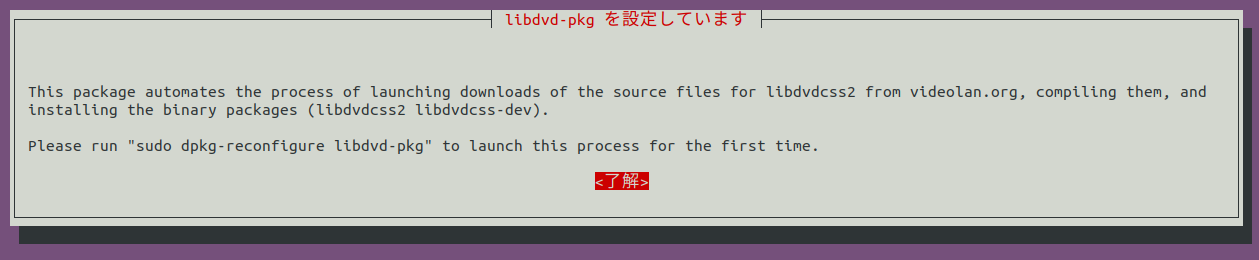
最初に表示された画面。いきなり出てきた。
次に表示された画面。
表示された画面の中で「dpkg-reconfigure libdvd-pkg」を催促しているように思われるので、これもやってみました。
実行したコマンド
$ sudo dpkg-reconfigure libdvd-pkg
その時のログです。
$ sudo dpkg-reconfigure libdvd-pkg
libdvd-pkg: Downloading orig source...
I: libdvdcss_1.4.2
/usr/bin/wget --tries=3 --timeout=40 --read-timeout=40 --continue -O libdvdcss_1.4.2.orig.tar.bz2 \
          http://download.videolan.org/pub/libdvdcss/1.4.2/libdvdcss-1.4.2.tar.bz2 \
        || /usr/bin/uscan --noconf --verbose --rename --destdir=/usr/src/libdvd-pkg --check-dirname-level=0 --force-download --download-current-version /usr/share/libdvd-pkg/debian
--2021-04-03 21:15:57--  http://download.videolan.org/pub/libdvdcss/1.4.2/libdvdcss-1.4.2.tar.bz2
download.videolan.org (download.videolan.org) をDNSに問いあわせています... 213.36.253.2
download.videolan.org (download.videolan.org)|213.36.253.2|:80 に接続しています... 接続しました。
HTTP による接続要求を送信しました、応答を待っています... 200 OK
長さ: 366824 (358K) [application/octet-stream]
`libdvdcss_1.4.2.orig.tar.bz2' に保存中

libdvdcss_1.4.2.orig.tar.bz2        100%[=================================================================>] 358.23K   130KB/s    時間 2.8s

2021-04-03 21:16:01 (130 KB/s) - `libdvdcss_1.4.2.orig.tar.bz2' へ保存完了 [366824/366824]

libdvd-pkg: Checking orig.tar integrity...
/usr/src/libdvd-pkg/libdvdcss_1.4.2.orig.tar.bz2: OK
libdvd-pkg: Unpacking and configuring...
libdvd-pkg: Building the package... (it may take a while)
libdvd-pkg: Build log will be saved to /usr/src/libdvd-pkg/libdvdcss2_1.4.2-1~local_amd64.build
Current: = cap_chown,cap_dac_override,cap_dac_read_search,cap_fowner,cap_fsetid,cap_kill,cap_setgid,cap_setuid,cap_setpcap,cap_linux_immutable,cap_net_bind_service,cap_net_broadcast,cap_net_admin,cap_net_raw,cap_ipc_lock,cap_ipc_owner,cap_sys_module,cap_sys_rawio,cap_sys_chroot,cap_sys_ptrace,cap_sys_pacct,cap_sys_admin,cap_sys_boot,cap_sys_nice,cap_sys_resource,cap_sys_time,cap_sys_tty_config,cap_mknod,cap_lease,cap_audit_write,cap_audit_control,cap_setfcap,cap_mac_override,cap_mac_admin,cap_syslog,cap_wake_alarm,cap_block_suspend,cap_audit_read+ep
Bounding set =cap_chown,cap_dac_override,cap_fowner,cap_wake_alarm,cap_block_suspend,cap_audit_read
Securebits: 024/0x14/5'b10100
 secure-noroot: no (unlocked)
 secure-no-suid-fixup: yes (unlocked)
 secure-keep-caps: yes (unlocked)
uid=0(root)
gid=0(root)
groups=0(root)
libdvd-pkg: Installing...
以前に未選択のパッケージ libdvdcss-dev:amd64 を選択しています。
(データベースを読み込んでいます ... 現在 171677 個のファイルとディレクトリがインストールされています。)
.../libdvdcss-dev_1.4.2-1~local_amd64.deb を展開する準備をしています ...
libdvdcss-dev:amd64 (1.4.2-1~local) を展開しています...
以前に未選択のパッケージ libdvdcss2:amd64 を選択しています。
.../libdvdcss2_1.4.2-1~local_amd64.deb を展開する準備をしています ...
libdvdcss2:amd64 (1.4.2-1~local) を展開しています...
libdvdcss2:amd64 (1.4.2-1~local) を設定しています ...
libdvdcss-dev:amd64 (1.4.2-1~local) を設定しています ...
libc-bin (2.27-3ubuntu1.4) のトリガを処理しています ...
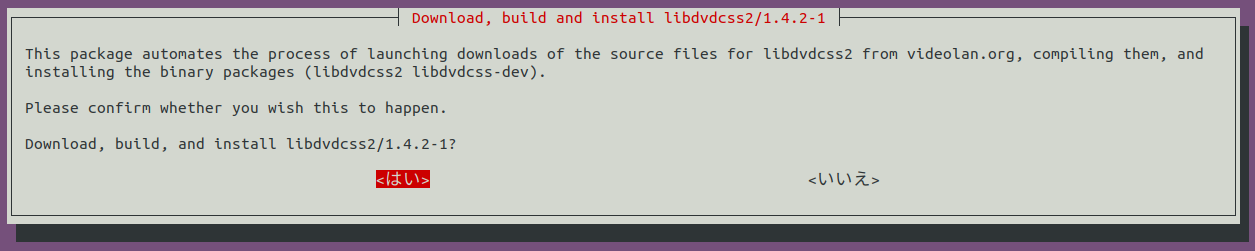
このdpkg-reconfigureの途中でも以下の画面が表示されたので、リターンキーを押しています。download.videolan.org に接続してダウンロードをするみたいです。
dvdに関するパッケージが何か入ったようなので確認してみました。

libdvd-pkg、libdvdcss-dev、libdvdcss2が追加されたようです。
この状態でDVDを再生したみたところ、、、無事、再生できました!
ubuntu-restricted-extras は入れていませんが今のところ、大丈夫みたいです。また手元に動画ファイルがいくつかあったのでその再生をしてみたところ、wmvファイル、mp4ファイル、mpgファイル、m2tsファイルの再生はできました。他の動画ファイルも再生出来るのかもしれませんが、手元にないので未確認です。